Scaling Construction Productivity: Operational Efficiency of the Drywall Lift Rental
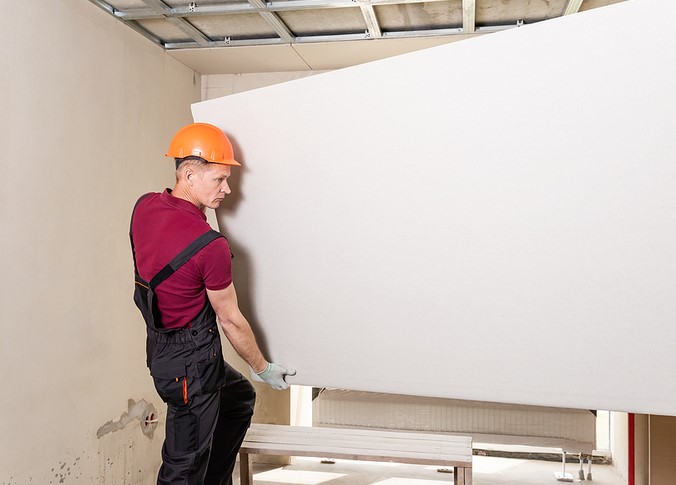
Source:https://vandaliarental.com
It’s 2:00 PM on a sweltering Tuesday, and you are standing on a shaky stepladder, holding a heavy, $4\times12\text{-foot}$ sheet of 5/8-inch Type X drywall flat against a ceiling joist. Your shoulders are burning, your calves are shaking, and your helper is screaming that he’s losing his grip on the other side. One wrong move means a cracked skull, smashed knuckles, and a ruined $30 sheet of sheetrock.
Early in my career, I tried to muscle through ceiling installations with nothing but raw willpower and a couple of T-braces made from scrap 2x4s. It was a recipe for chronic back pain and sloppy, uneven seams. The turning point for my business came when I stopped treating manual labor as a badge of honor and embraced a critical piece of mechanical leverage: a drywall lift rental.
If you are a DIYer tackling a basement remodel or a growing contractor looking to optimize your crew’s output, understanding the mechanics and economic advantages of utilizing a professional hoist is your ticket to survival. Let’s dive deep into how outsourcing this single tool can radically scale your project’s productivity.
The Physics of Labor Efficiency: Why Muscle Fails Where Mechanics Win
To understand why a hoist is indispensable, you have to look at the sheer numbers behind drywall installation. A standard sheet of 1/2-inch drywall weighs roughly 50 to 60 lbs, while denser fire-rated boards can tip the scales at over 70 lbs.
Lifting that weight vertically isn’t the real issue; it’s holding it perfectly static at a height of 9 or 10 feet while simultaneously balancing, aligning the edges, and driving drywall screws into stubborn steel or wood framing.
Think of hanging drywall without a hoist like trying to paint a masterpiece while holding a heavy bowling ball at arm’s length. Your muscles experience rapid lactic acid buildup, which degrades your precision. When you introduce a drywall lift rental into the equation, you effectively replace human muscle with a mechanical advantage system.
The Mechanical Breakdown
A standard commercial drywall lift utilizes a manual cable-driven winch and brake assembly.
-
The Telescoping Mast: High-tensile steel sections slide inside one another, converting your rotational arm movement on the wheel into smooth vertical lift.
-
The Tilting Cradle: The top crossarms tilt downward to a comfortable working height, allowing a single person to load a massive panel without lifting it over their head.
-
The Outriggers: Wide, locking caster wheelbases distribute the gravity load across a broad footprint, preventing tip-overs on uneven subfloors.
The Financial Math: Buying vs. Opting for a Drywall Lift Rental
When folks ask me for advice on sourcing tools, they often wonder if they should just buy a cheap hoist online. Let’s break down the actual operational logistics of a drywall lift rental versus ownership for a small-to-medium-scale operator.
+-------------------------------------------------------+
|                THE TIME-VALUE EQUATION                |
|                                                       |
|   Manual Hanging (2 People):                          |
|   [Lifting] -> [Fatigue] -> [Slow Positioning]        |
|                                                       |
|   Hoist Assisted (1 Person):                          |
|   [Load] -> [Crank] -> [Perfect Micro-Adjustments]     |
+-------------------------------------------------------+
The Ownership Liability Trap
A professional-grade, heavy-duty hoist costs hundreds of dollars. The cheap knock-offs you find online often suffer from cable binding, brittle welds, and imprecise braking mechanisms.
More importantly, a drywall lift is incredibly bulky. Once your project is finished, that giant steel contraption is going to sit in your garage or warehouse, eating up valuable square footage for the next three years.
Why Rental Scales Your Bottom Line
Opting for a local drywall lift rental offers distinct operational benefits:
-
Zero Capital Depreciation: You pay only for the exact window of time the tool is generating revenue or completing work.
-
Access to Premium Hardware: Rental houses typically stock commercial-grade brands (like Bil-Jax or Sumner) that feature smooth automatic load-holding brakes and robust outriggers.
-
Logistical Flexibility: You pick it up broken down into three easily transportable components that fit in the back of a standard SUV, and you return it when the messy hanging phase is done.
Mastering the Workflow: Step-by-Step Solo Operation
One of the greatest operational wins of using a hoist is that it transforms a grueling two-person or three-person task into an easy, precise solo job. This frees up your secondary labor to focus on layout, cutting out electrical boxes, or prepping the next batch of fasteners.
1. Staging and Orienting the Lift
Position the lift base so that the locking casters are engaged before loading. Pivot the cradle down into the loading position.
Always load the sheet with the face (the smooth, finished side) facing down toward the floor and the paper-backed side facing up toward the joists.
2. The Micro-Adjustment Phase
Crank the winch wheel until the panel is about 2 inches below the ceiling framing. Stop there.
Because the panel is held safely by the machine, you can step back, inspect the alignment of your factory edges, and use your fingertips to glide the sheet into a perfectly tight butt joint. You will never achieve this level of precision while your arms are shaking under 60 lbs of dead weight.
3. Securing the Panel
Once aligned, crank the hoist until the panel is pressed firmly against the joists. The lift acts as a giant, continuous clamp.
Now, you can take your time driving your perimeter and field screws at a comfortable pace, ensuring every single screw head is perfectly dimpled without tearing the paper face.
💡 Pro Tip: The Unpadded Joist Trap
Before you raise your sheet rock, always clean the top crossarms of the lift cradle. Drywall dust and leftover debris from previous jobs can build up on the metal arms. When you crank a new sheet tight against the ceiling framing, any trapped debris can punch straight through the back paper or score the front face, leading to structural weak spots or cosmetic flaws that will haunt you during the taping and mudding phase.
Safety Protocol for Sloped Ceilings
While a hoist makes flat ceilings a breeze, cathedral ceilings or steep architectural pitches require an advanced understanding of center-of-gravity dynamics.
When you tilt a cradle to match a severe angle, the lateral force shifts dramatically. If you do not lock the caster wheels in the correct orientation—pointing outward away from the slope—the entire unit can slide out from under the ceiling joist as you apply pressure.
-
Always engage all wheel brakes before adjusting the cradle pitch.
-
Extension accessories: If you are working on ceilings higher than 11 feet, do not balance the lift on boxes or makeshift platforms. Always ask your rental yard for a factory mast extension bar to preserve the tool’s structural safety rating.
Elevating Your Construction Workflow
At the end of the day, scaling your productivity isn’t about working harder; it’s about working smarter. Incorporating a drywall lift rental into your next renovation project removes the physical bottleneck of material handling. It protects your body from injury, ensures flawless, professional-grade joints, and lets you maximize your time on site.
Are you getting ready to tackle a major sheetrock installation, or do you have a horror story from trying to hang a ceiling manually? Drop a comment below with your upcoming project details, and let’s talk strategy for keeping your workflow smooth and efficient!